Yacht owners have a broad selection of flags to choose from these days when it comes to a yacht’s flagship and registration. Many things must be taken into consideration before…
Category Archives: General
Got yacht crew? Touring in U.S waters? A great deal has been said ahead of the new MLC 2006 soon to be taking effect. However, the United States is yet to ratify the Maritime Labour…
For all those salt dogs out there. Test your true marine vocablary here…

What does class mean in reference to your yacht? It’s a powerful…
Does your head spins every time you go to West Marine or National Marine in search…
As summer’s calecent furry returns air conditioning units aboard yachts are usually running at a fast laborious clip. Often we’re called to a boat to investigate a musty smell brought on by these units not being ran on a regular basis often due to poor servicing. Running the A/C at consistant temperature through out your boat not only creates a suitable creature comfort temp but removes humidity from the vessel.
Mold and mildew thrive in humidity producing a sulfur (rotten egg smell) as a bi-product. This musty smell comes from restrictive air flow often as a result of crew failing to clean air filters located at the air handlers or raw water circulation strainers in the engine room. Many times these filters are hard to reach, hidden behind wooden shelfs or in tight compartments, gone unserviced this restricted, dirty air flow across the coils of the air handler prevents a stable balanced room cool down. 
Eliminate smell before it starts by applying these tried and true A/C preventative maintenance steps to your on board program.
Call or write us should you have any questions or concerns. We’re standing by to help you.
What good mother would send her child out into the blistering sun without sunscreen on? Alright babies and boats aren’t apples to apples but summer is here and there’s no better time than now to protect your vessel’s gel-coat and painted surfaces from the harsh weather elements that exist.
When a yachts gel-coat or painted surfaces are left unprotected deterioration quickly starts to take place at a micro-level causing the surface to becomes porous and rot. Shine is immediately taken away and the vessel’s gel-coat or paint begins to haze, taking on a flat color. The porosity of the surface catches more dirt preventing it from sliding off your boat thus requiring much more cleaning and work. The good news is almost all gel-coated surfaces and painted surfaces can be restored, given there is still dept and it hasn’t been worn through.

It’s imperative that the restoration and maintenance of your vessel’s cosmetics surfaces follow certain steps pertaining to products and application techniques. Having the wrong product or application method can cause swirl marks, waste time, heaps of money and or destroy your vessel’s paint job. Below are a few tips we’ve learned over the years having mastered this process.
Step #1-THOROUGH VESSEL WASH DOWN
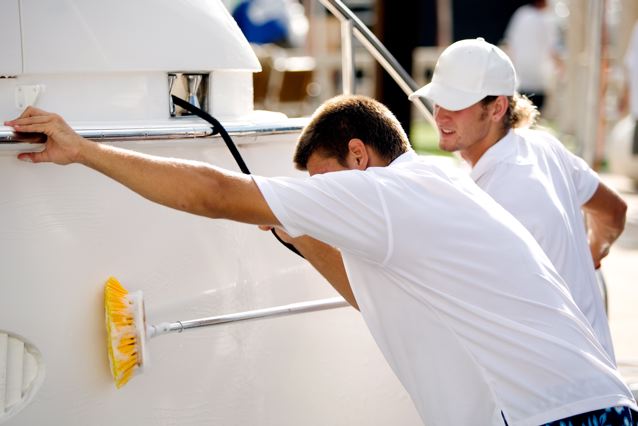
Using an aggressive soap/cleaner give the yacht a thorough wash down and good chamois. This will guarantee a clean surface and keep dirt from clogging up your wool buffing bonnets.
Remember you want to remove dirt when polishing your boat not move dirt so make sure your brushes, pads and micro-fiber are always clean and fresh!!
Many time people think because they are compounding first or cutting off the top millimeter that it doesn’t make a difference to wash it.. it does and wool pads are expensive so give it a good wash first.
Step #2-COMPOUNDING, MICRO-FINISHING AND WAXING

If you’ve ever seen an old piece of wood being sanded down to a beautiful finish you know that the process requires several steps and usually starts with a rough sandpaper to remove the dead (grey) wood and then a medium grit sand paper to minimize the heavy scratches creating smoothness and then a light sandpaper to fully remove light scratches thus creating a friction less substrate before a polyurethane sealer is applied as a last step to protect the wood from the wind and rain.
The same principles apply when finishing gel coat and paint except our sand paper comes in the form of liquid compound laden with chunkier minerals for heavy (coarse) cut and lighter minerals for (lighter) cut. Our wax is usually a silicon polymer for pure protection.
To properly finish gel coat or painted surface you must start with the most aggressive grit compound needed to fully remove the dead surface and restore color and clarity after which (like finishing wood) you stage down moving to lighter compounds that will remove scratches and bring shine and clarity before applying a topcoat or wax to seal and protect the surface.
Most times this is a multi step process unless the boat’s gel coat or paint is brand new and or has been perfectly maintained and needs just a coat of protective wax.
The 1st cleaning compound used will depend on the amount of oxidization or fade your vessel’s surface has. A heavy haze (chalky look) will require a heavy cut compound, a medium haze (cloudy look) will require a medium cut compound and a light haze (misty looking) will require a light cut compound to restore to fresh paint and gel-coat look, shine and appearance. After which an application of topcoat or wax is applied to seal the surface and keep out the elements.
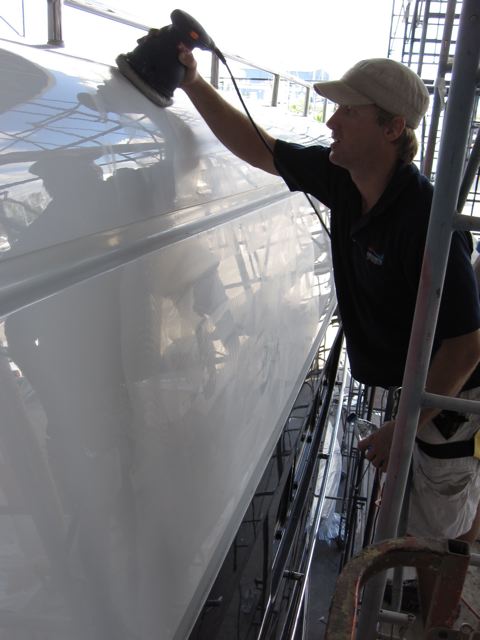
PRO ADVICE: For each step or type of compound used a different texture of buffing pad is needed-Heavy duty compound requires a white (course) wool buffing pad-Medium and light compound requires a yellow- (medium) texture wool buffing pad. Foam pads are HIGHLY recommended when finishing dark color yacht paint and are of different texture depending on color. Apply wax with hand orbital, remove by hand and polish at slow speed with a perfectly clean soft buffing pad.
NOTE: Use a spur (cleaning tool or rake stick) to clean your pads frequently when polishing as residue will build up and cause swirls and burn marks, when your pad has tight short dread locks it’s done**Product knowledge and application technique is what separates the pros from the bums**ohh yeah don’t exceed 3000 rpm on your machine and apply even steady pressure in 3 foot horizontal and vertical motions when buffing.
PRODUCTS: The 3m finishing system has been the leading paint and gel coat finishing system over the years. It flat out works! Presta products out of Miami deliver an excellent, comparable line of product that are water based (no fillers) and a bit cheaper.
Please commment to let us know what steps and products work best for you!
Antifouling and Bottom Painting
Optimal cruising performance is often a reflection of your vessels underside. Your boats bottom coat is the first line of defense against some harsh elements trying to consume it. Staying on top of this preventative maintenance chore is one of the most important ones you face. The smallest amount of growth underneath your boat will affect speed and performance and if not sealed properly will penetrate your hull’s gel-coat creating core rot (blisters).
Let’s find the right paint for you!
Favorable bottom coatings for your vessel should depend on what type of boating you do, where you boat and the type of bottom paint applied to your boat in the past. Fresh water boating doesn’t necessarily require the same strength and durability of bottom paint as say a fishing boat in the Florida Keys.
“Bottom paints act as a barrier to reduce marine growth and barnacles by releasing toxic biocides at a carefully controlled rate” Back in the day of old the bellies of boats were nailed tight with copper platting, now copper compounds (cuprous oxide) are laden in the bottom paint itself to combat growth some contain “slimacides” which greatly reduce the sun’s deterioration of paint along the water line by filtering out UV and blocking photosynthesis.
2 Types of Anti-fouling Bottom Paint
It’s important to remember the pros and cons of each type of bottom paint. Compatibility of one paint on top of another is critical. Generally speaking softer paints can be applied over harder paints but not visa versa
Modified Epoxies
Modified Epoxies deliver a hard durable finish but require yearly repainting. The higher the cooper content the more resistant it is to algae and growth. Keep in mind “the cheaper paint, the less copper and protection” I don’t recommend short changing price for durability and protection. The warmer the water and longer the boating season the higher the bottom growth and better protection you’ll need. Modified epoxies are popular because they are typically cheaper and can be painted over each other if the bottom has been sanded properly for a nice firm lock.
Ablatives
Ablative paints are softer semi-hard paints that flake off over time much like a bar of soap. Multiple coats the 1st time applied is recommended and is well worth it. Ablatives with boosted copolymers are very popular because they allow a vessel’s bottom to go 2 or 3 years sometimes with out needing to be repainted.
TIP: When applying multi coats of Ablative paint make the base coat a different color of paint than the successive layers. Perhaps RED and other layers Blue or Black. This will allow you to see when you are down to your base level.
WARNING: Do not paint a modified epoxy paint over an ablative paint with out removing it completely first by sanding! It will simply flake off and your money and protection will be lost.
Preperation is Critical! Let’s do it!
▪ Pressure Washing-Should the hull have growth remove thoroughly with a pressure washer using a mold release agent
▪ Sanding and Prep-Should older paint exist remove using a DA and 100 grit sandpaper taking the underside of your vessel down to fresh gel-coat. If any blisters exist (bubbles caused from water penetration) remove them using the interlux repair guide to achieve a perfect underside substrate for an impermeable layer called the Barrier Coat.
▪ Applying a Barrier Coat-A barrier coat is an impermeable layer of epoxy that you will apply between paint and hull so that water cannot be absorbed and blisters cannot form-much like a primer. After applying and dry time has exceeded lightly sand with 120 sandpaper to give a perfect texture for bottom paint to adhere.
Applying Bottom Paint.
Call Freedom Yacht Services today for the very best yacht detailing and protective coating experts
For the do it yourself boaters these blogs are for you! Summer is quickly advancing and the waters around South Florida are turning optimal for cruising, diving, fishing, snorkeling and all the other outstanding amenities these waters offer. So let’s get your vessel in top gear and condition for the fun. The next 4 blogs are aimed at informing and guiding you through 4 critical commissioning projects that will ensure your cruising is the smoothest.
Think Mechanical Maintenance 1st!
Consider a boats make up similiar to a human body. With out electricity we dont funtion and with out proper circulation we fail. So let’s look at these primary systems and perform a good inspection.
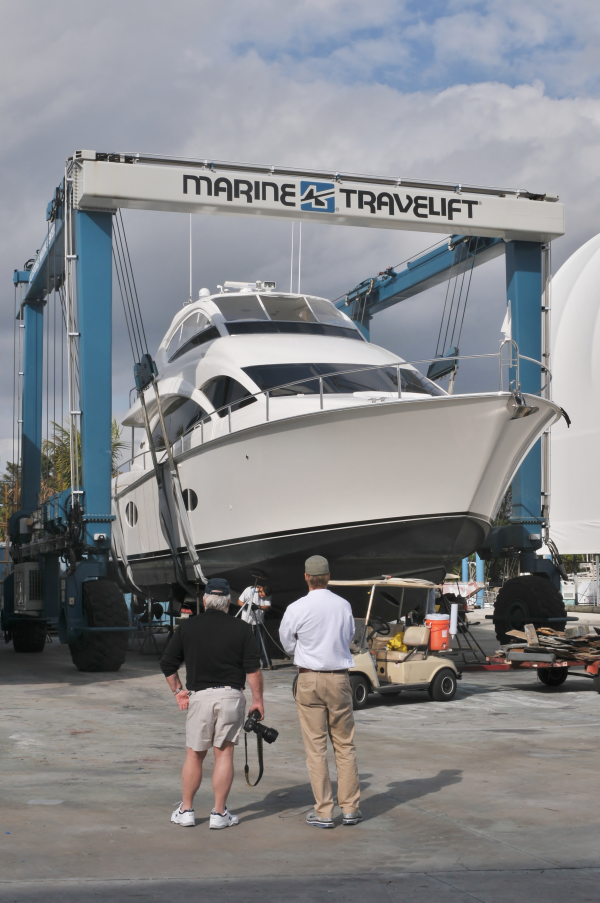
- Looking at the big picture by hauling the vessel out of the water is critical. Making sure to turn off all generators and a/c systems before hand to avoid the risk of burning them up as they gasp for water. Check the bottom making sure all the barnacles and growth is cleaned off.
-
Bottom zincs on your hull, drives, shafts and trim tabs need to be at least %50. Remember these zincs are your boats shields against electrolysis. When they expired the electricity from the salt water will start to eat away at your boats inner metal components. Beware!
- How do your propellers look? Even the smallest nick or bend will cause vibration issues and severely disturb performance speed, even barnacles and growth. I recommend removing the propellers and having them finished and balanced properly to achieve maximum rpm. Oh yeah grease the spline before installing to avoid unnecessary friction.
-
How are your batteries? Disconnect all batteries, clean them with soda water and a wire brush before reconnecting and checking them for optimal charge-batteries do need replacing periodically and if one is dead connecting to a series of batteries they all will be dead soon so pull and replace.
How does your steering system look? Check for drips or leaks and top off the lubricant. Check packing boxes to make sure there is no damage. -
A/C systems servicing. In a constantly warm enviroment a/c many times never stop and often need re-pressurizing and raw water lines flushed with barnacle buster (green technology) to clear out growth.
Check all hose fittings, replacing the corroded ones with new ones. Lubricate all sea cock levers (raw water intake valves) exercise them back and forth. Make sure strainer baskets are clean and their housings are free of barnacles and growth. - Make sure all main engine sea strainers are clear of growth and obstructions.
- Remember! Cooling water to your 2 vital mechanical systems (engine and air conditioning) is like blood circulation to your heart. By assuring unrestricted water flow you’ll be way cooler and cost effectiveness.
- Light Bulbs! Turn all lights on including Navigation Lights, checking for any burnt out bulbs and replace.
- Bilges are Key! Before I buy a boat I check here 1st and foremost because you can quickly learn a vessels mechanical health by residue found. Trace any leaks back to their culprit and replace seals where necessary. Remove any water, sludge or oil from the bilge (dispose of properly in a hazardous waste area) clean with degrease the bilge and make sure all bilge pumps are running properly and not gummed up. Don’t hesitate to replace a bilge pump as they do expire and are well worth the piece of mind when all else fails.
- Sump boxes clean up well with water and bleach, let it sit for a few hours.
- Dump your fresh water tank and refill, I never recommend drinking water from your fresh water tank as it is never fresh, many times treating the tank with a bromine tablet is good to keep growth and that egg smell away.
- Dump your black water tank and treat with a eco friendly solution that will keep the smell fresh and bacteria down.
- Changing your engine oil is key and the best way to preserve the life of your engine, run the engine a few minutes before dumping the pan to lower the oil viscosity. Also rub oil on the filter gasket, this will allow it to seat better, check for leaks while it’s running.
- Service your generator if needed, replacing oil and all filters to assure your getting electricity when out island. I’ve found not having electricity and hot water at sea severely compromises the relationship with my girlfriend.
More to come…stand bye
What is a Shipboard Safety Officer? Who needs one?
Typically commercial yachts and ships over 500 gross tons are required to have s ship board saftey officer. This is a mandated training requirement set by (ISM) International Safety Management. The on board member will usually attend a 3-4 day class where he or she will be trained on the following procedures and protocols.
The course aims to teach proper code for Safe and Working practices and should meet the IMO Model Course 3.11. and STCW A-II/2 and A-III/3.
Typically this officer shouldn’t be the captain or the medical person on board and is usually the Officer of the Watch. It’s mandated that safety officers on commercial vessels attain 2 years of consecutive sea service, if aboard a tank ship only 6 months is needed.
This course is given in the UK, US and various other MCA training facilities. This ticket gives a candidate nice leverage when job hunting allowing them to be much more versatile.


